


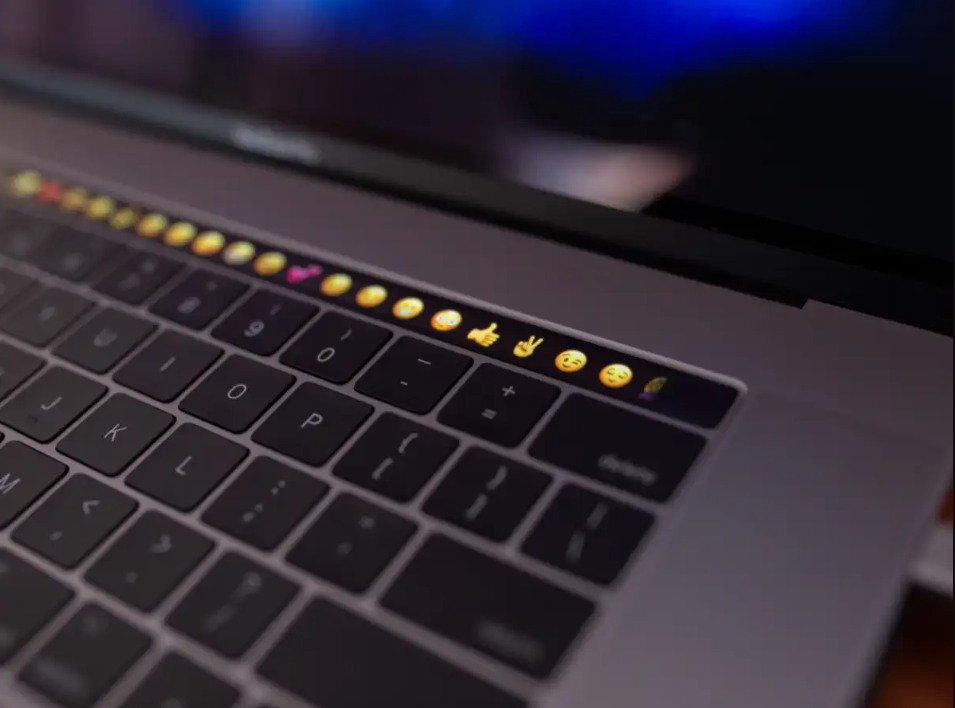
The Touch Bar is a square Retina touchscreen found on models of the most recent MacBook Pro. The small screen can increase your productivity and enable you to do tasks more quickly, depending on how you utilize it.
You will gain a better understanding of the Touch Bar’s functionality and design after watching this tutorial. You’ll also learn how to modify the Touch Bar on MacBook Pros.
Note: For this article, we used a MacBook Pro 2019 running macOS Monterey. All MacBook Pros with Touch Bars and macOS Big Sur and Catalina are compatible with the techniques in the tutorial.
Know Your Touch Bar on Your MacBook
First-generation and second-generation Touch Bars are the two variations. The Escape (Esc) key is located in the far-left corner of the first-generation Touch Bar, but it is absent from the second-generation Touch Bar. There is a separate physical Esc key outside the Touch Bar on MacBooks with the second-generation Touch Bar.

The second-generation Touch Bar is available on the 2020 MacBook Pro and subsequent models. The first generation Touch Bar is present on both the 2019 MacBook Pro and earlier MacBook Pro models. A Touch Bar cannot be upgraded because it is linked to the components of your MacBook.
Control Strip, App Control/Quick Actions, and System button are the three portions of Touch Bars.
Control Strip on a touch screen
The extensible portion on the Touch Bar’s right side is called the Control Strip. System-level controls including display brightness, keyboard backlight, speaker volume, screenshot tool, Siri, etc. are located in this section. By default, macOS shows a compressed Control Strip that can only hold four buttons at a time.

To the left of the Control Strip, there is also an arrow key that faces to the left. All system-level controls accessible in the Touch Bar are revealed when you tap the arrow key, which also expands the Control Strip.
Section “App Controls”
App-specific shortcuts are located in this area of the Touch Bar’s first and second generations. Depending on the app or ongoing action, the buttons in the App Controls area will change often. You can find shortcuts for adding emojis, typing suggestions, text formatting, and more when you’re typing in the Notes app, for instance.
A search button, browser tab thumbnails, tab navigation buttons, etc. are all displayed in the App Controls area of Safari. Play, pause, next, and other playback controls are displayed in the App Control area when playing media in the Apple Music or Podcasts app.
Section “System Buttons”
On the first-generation Touch Bar, the only item in the “System Button” area is the Escape (Esc) key. The key is located in the left-hand corner of the Touch Bar on your MacBook.

How to Customize the Touch Bar on a MacBook Pro
The Control Strip and App portion of your MacBook is the only areas you can modify. On the first-generation Touch Bar, the System Buttons cannot be altered, moved, or deleted. We’ll walk you through how to change the Touch Bar Control Strip and App Controls on your MacBook.
Customize Your Touch Bar’s Control Strip
- Select Keyboard in System Preferences after opening.

- Make sure the Show Control Strip box is checked under the “Keyboard” tab. To continue, select Customize Control Strip.

- Drag buttons to the bottom of the screen to add them to the Control Strip. When the button appears in the desired location on the Control Strip, let go of the mouse or trackpad.

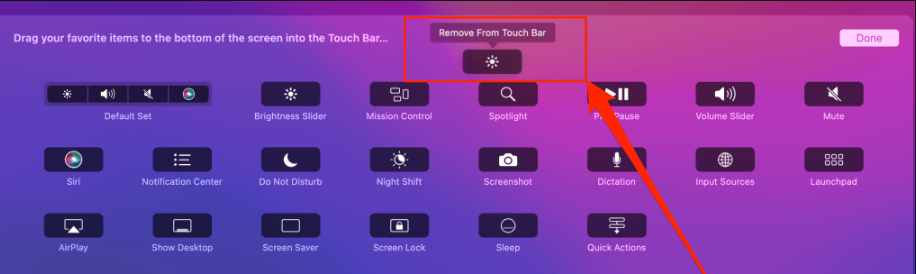
- Place your pointer on the Control Strip at the bottom of the screen to remove a button. Next, select the item you wish to delete and click and drag it up onto the screen of your MacBook. When the phrase Remove from Touch Bar appears above the button, let go of the mouse or trackpad.
- To display all customization choices, tap the left-facing arrow on the Touch Bar to expand the Control Strip.

- The elements on your MacBook’s Control Strip can also be rearranged or moved around. Open the Control Strip customization panel (see step #2) and drag the desired position of the buttons with your finger.
- The Control Strip arrangement will be restored to its factory default when you drag the Default Set group into the Touch Bar.

- In order to save your adjustments, click Done on the screen. Alternatively, you can hit Done in the Touch Bar’s upper left corner.

Customize the App Controls on Your Touch Bar
You may choose which buttons or app-specific controls show up on your Touch Bar in macOS. Not all programs allow you to change the buttons that appear in the Touch Bar. Only Apple apps—Notes, Safari, Finder, Calculator, etc.—could have their Touch Bar buttons customized on the device we used for testing.
The modified Touch Bar controls were not supported by many third-party or non-Apple programs. The Touch Bar controls for certain apps can only be programmed by the app developers as a result.
Here’s how to change the Touch Bar app section’s appearance in compatible apps:
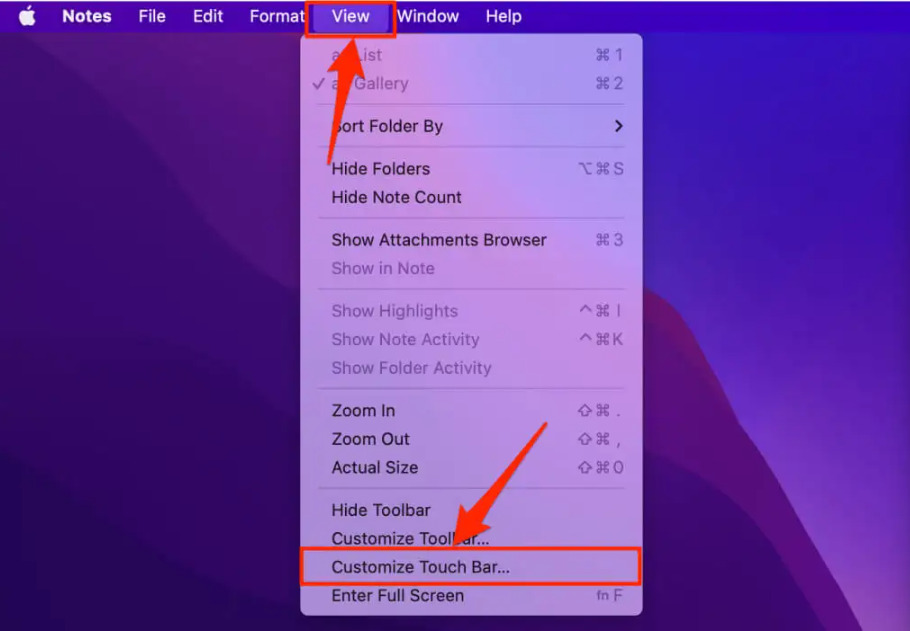
- Open an application, choose View from the menu bar, and then choose Customize Touch Bar.
- Drag an item to the bottom of the screen to add it to the Touch Bar. When the objects show on the Touch Bar, let go of the trackpad or mouse.

On a Mac, alter the Touch Bar settings
You now know how to add and remove items from the Touch Bar interface on your Mac. We’ll then demonstrate how to modify the Touch Bar settings and the way your keyboard and Touch Bar interact.
Expanded Control Strips Display
- As previously indicated, every MacBook by default runs macOS, which shows the Control Strip closed. When collapsed, the Control Strip displays four buttons; when expanded, it displays up to 14 buttons.Here’s how to configure your Mac so that the extended Control Strip on the Touch Bar always appears:Open the “Touch Bar show” drop-down menu by going to System Preferences > Keyboard, selecting the “Keyboard” tab, and then clicking it.

- The Expanded Control Strip option.
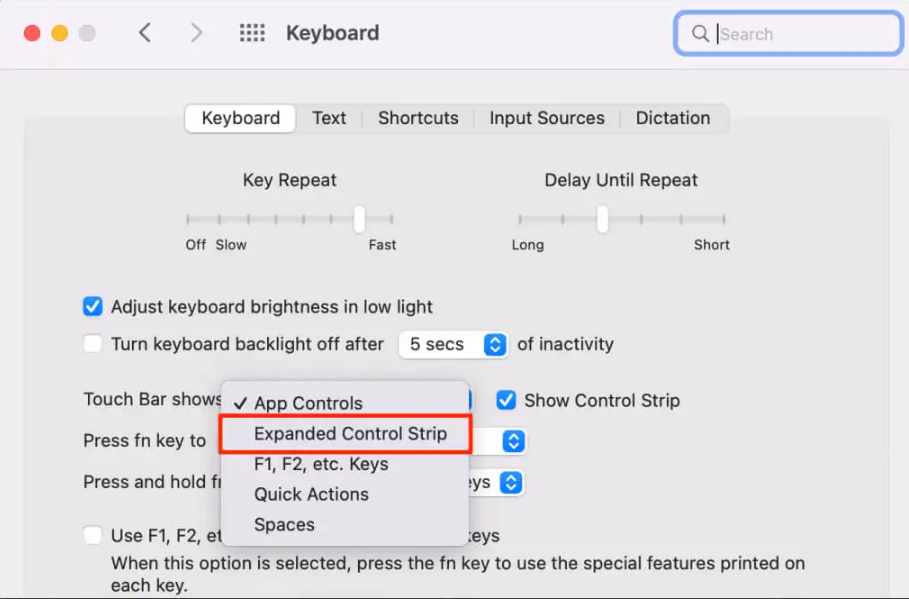
All system-level controls are now visible on your MacBook in the Control Strip on the Touch Bar.
Function Keys Can Be Seen and Saved in the Touch Bar
The Touch Bar stood in for physical function (Fn) keys on laptops from the new MacBook Pro generation. Of course, your MacBook Pro with Touch Bar still supports function keys.
Here’s how to display and maintain function keys on the Touch Bar of your Mac:
Expand the Press and hold the fn key to the drop-down menu by going to System Preferences > Keyboard, selecting the “Keyboard” tab, and clicking on it.

- The Shows F1, F2, etc. Keys option.
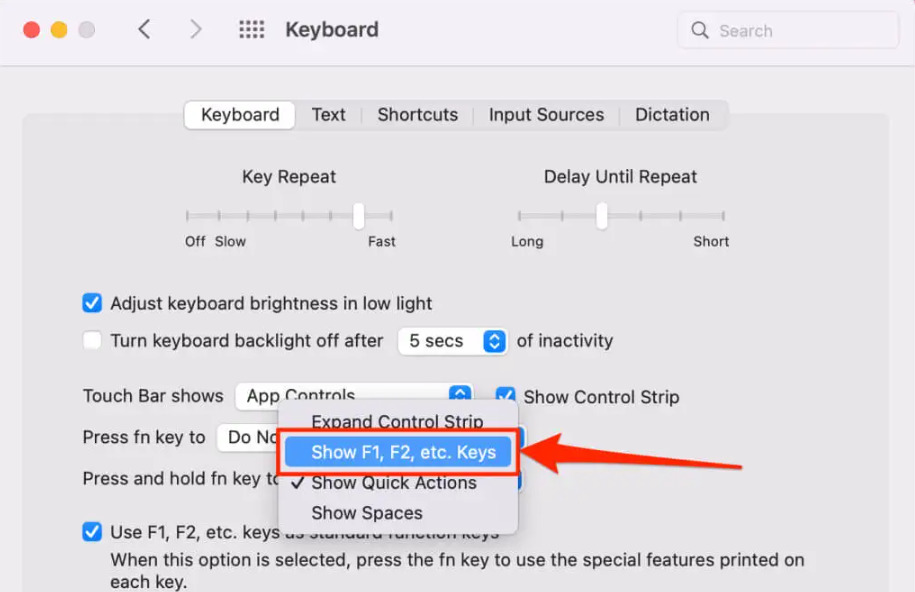
To display the (F1–F12) functions keys on the Touch Bar, press the fn key on your keyboard.

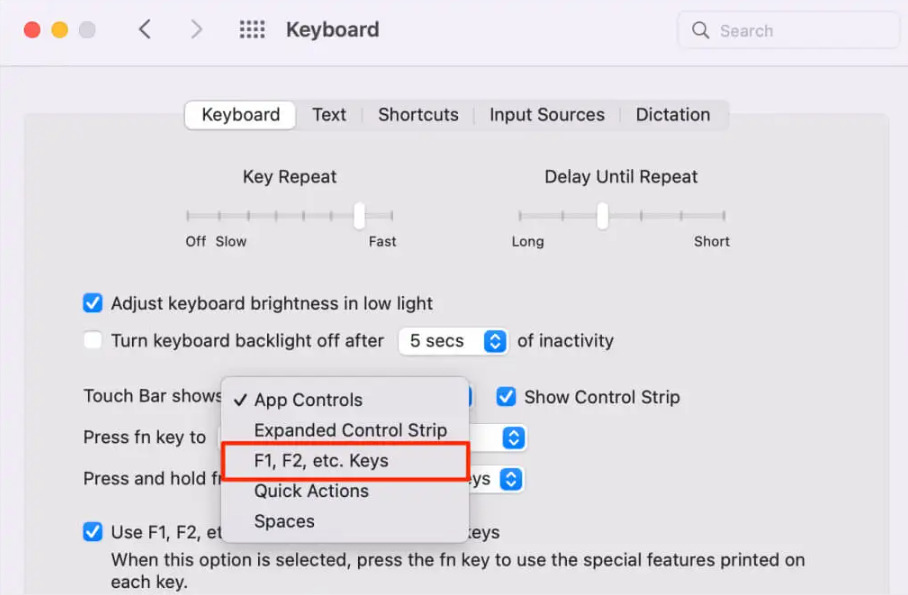
- Do you want the function keys on your Mac’s Touch Bar to always be visible? Select F1, F2, etc. Keys by expanding the drop-down menu that the Touch Bar displays.
Fixing Touch Bar Issues on the MacBook Pro
Is the Touch Bar on your Mac blank, inactive, or missing some buttons? Consult our troubleshooting guide on fixing Touch Bar issues on MacBooks.